
TL;DR
Placing your rig in a closet can drastically cut noise, but airflow and heat are the real challenges. Effective treatment combines strategic placement, proper ventilation, and targeted dampening, making small spaces usable without sacrificing performance.
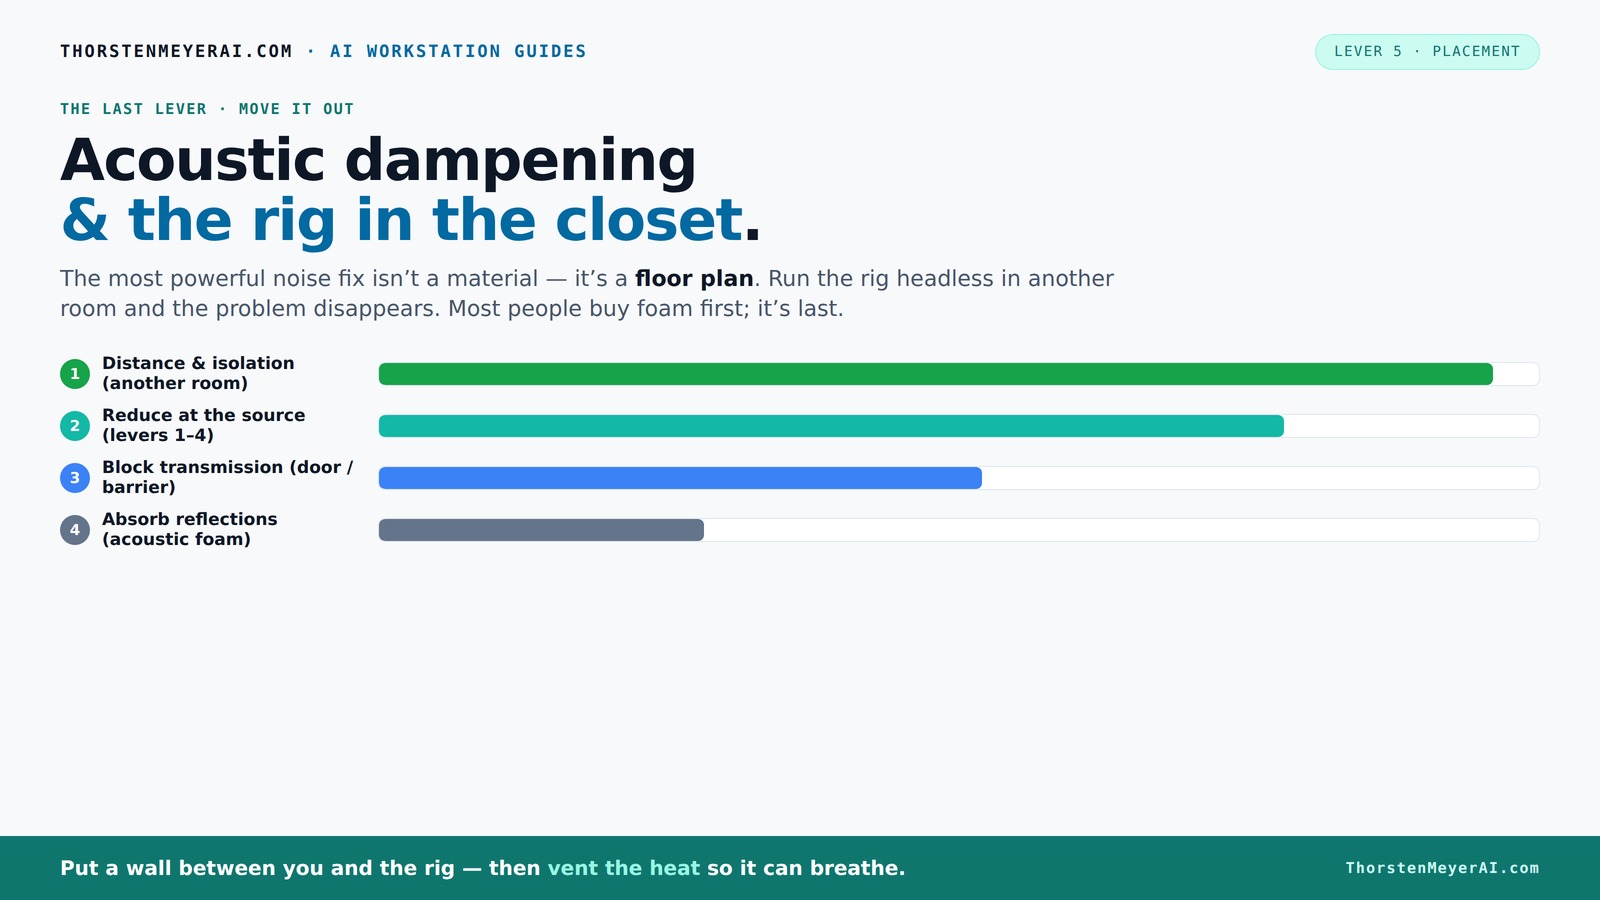
Acoustic dampening
& the rig in the closet.
The most powerful noise fix isn’t a material — it’s a floor plan. A rig you can’t hear because it’s in another room beats any amount of foam. Tap the approaches in Part 1 to see what actually works.
(another room)
(levers 1–4)
(door / barrier)
(acoustic foam)
Contain the noise, not the heat
Key Takeaways
- Distance is the most effective noise reduction — move your rig into another room if possible.
- Proper ventilation is critical — sealed closets trap heat, causing noise and damage.
- Targeted acoustic treatment at reflection points greatly improves sound quality in small spaces.
- Sealing gaps and adding mass to doors and walls enhances sound isolation. For more details, see this guide on acoustic dampening.
- Control low-end buildup with bass traps and diffusers in tiny rooms.
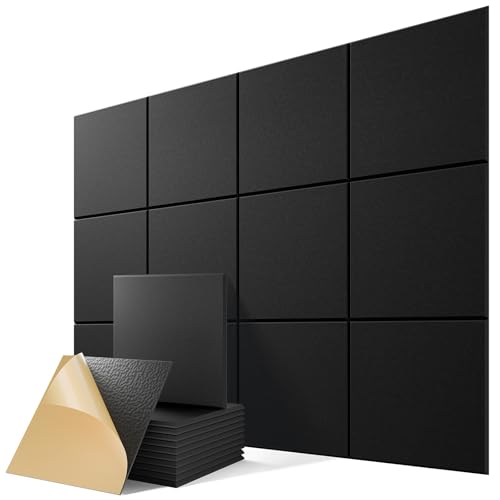
12 Pack Self-Adhesive Acoustic Panels, 12" X 12" X 0.4" High-Density Polyester Sound Proof Foam Panels for Walls, Soundproof Wall Panels for Home & Office (Black)
Superior Noise Reduction & Echo Cancellation - Tired of background noise and poor acoustics? Our soundproof wall panels...
As an affiliate, we earn on qualifying purchases.
As an affiliate, we earn on qualifying purchases.
Why Moving Your Rig Beats Foam for Noise Reduction
If noise is your main problem, the fastest fix isn’t soundproofing. It’s distance. Placing your rig in another room, closet, or basement cuts the noise hitting your ears by 90%. Think about it: a GPU that whines at 70 dB on your desk becomes nearly inaudible if it’s two rooms away. According to [1], the biggest impact on noise reduction is simply moving the machine away from you.
This setup is perfect for AI rigs, which you connect to over a network. Your laptop or workstation can stay in a quiet spot while the heavy-duty work happens elsewhere. The key? A wired connection to keep latency low and solid ventilation to prevent overheating.
Why does this matter? Because in small spaces, trying to soundproof a rig often leads to tradeoffs: added cost, reduced airflow, and limited effectiveness. Distance, on the other hand, offers a simple, scalable, and often more effective solution. It shifts the challenge from complex acoustic treatment to strategic placement, which can be more practical and adaptable for varied environments.
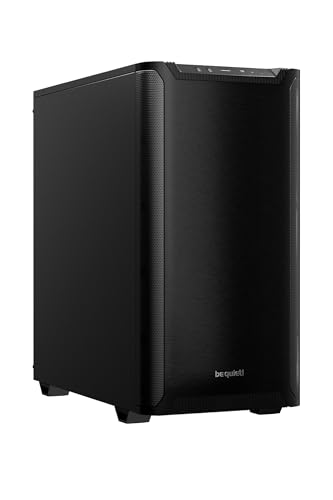
be quiet! Pure Base 501 Black ATX Case | 2 Preinstalled Pure Wings 3 140mm PWM Fans | Optimized Air Pressure | Compact PC Case | Vertical GPU Installation | USB 3.2 Gen. 2 Type C | BG073
Without any distractions, Pure Base 501 is reduced to excel at its core functions and is aimed at...
As an affiliate, we earn on qualifying purchases.
As an affiliate, we earn on qualifying purchases.
The 'Rig in the Closet' Setup: How to Do It Right
Placing a high-performance machine inside a closet can be a game-changer for noise and heat. But it’s not just throwing a tower into a space and sealing the door. You need to ensure proper airflow. Otherwise, trapped heat turns your closet into an oven, throttling performance and causing loud fan noise.
Here’s how to make it work: Learn more about acoustic setup.
- Install passive vents or exhaust fans to let hot air escape. Without proper venting, heat accumulates rapidly, forcing fans to run at higher speeds and increasing noise and thermal stress.
- Use ducting and thermostatic fans for controlled airflow. This ensures cool air enters and hot air exits efficiently, maintaining optimal temperatures without excessive noise from fans.
- Line the inside with acoustic foam or blankets to dampen reflection and reduce noise leakage. This reduces the sound escaping the enclosure, making your setup less intrusive.
- Keep the space cool with external cooling solutions like liquid cooling radiators or AIOs that vent heat outside. These prevent heat buildup that can degrade hardware performance and increase noise from cooling fans.
Why is this important? Because neglecting ventilation can turn your closet into a thermal bottleneck, reducing performance and increasing noise. Proper airflow ensures your rig stays cool, quiet, and efficient, avoiding the tradeoff between noise control and thermal management.

VEVOR Shutter Exhaust Fan, 16'' with Various Speeds, AC-motor, 2000 CFM, Wall Mount Attic Fan, Ventilation and Cooling for Greenhouses, Garages, Sheds, FCC
16'' Exhaust Fan: Dimensions: 18.9 x 18.9 inch; Airflow: 2000 CFM; FCC Listed; Speed: 1450 rpm. Our high-airflow...
As an affiliate, we earn on qualifying purchases.
As an affiliate, we earn on qualifying purchases.
Acoustic Dampening vs. Soundproofing: What You Need to Know
Acoustic dampening and soundproofing aren’t the same, but many confuse them. Dampening absorbs echo and reduces reflections inside a small space, making recordings clearer. Soundproofing blocks sound from escaping or entering the room.
In a tiny closet, you want both: foam panels and bass traps to improve sound quality, plus sealing gaps, adding mass to the door, and using sound barriers if you need isolation. For example, a closet with thick blankets, weatherstripping, and foam can cut echo and leakage, but sealing gaps is what keeps noise from escaping. Without proper sealing, even the best dampening materials can be rendered ineffective, as sound leaks through small cracks and creates unwanted noise outside the space. Conversely, focusing solely on sealing without dampening can make the space sound dull and echoey, reducing clarity. Therefore, understanding the balance and purpose of each approach helps you craft a space that sounds good internally and remains quiet externally, which is crucial in small, confined environments.
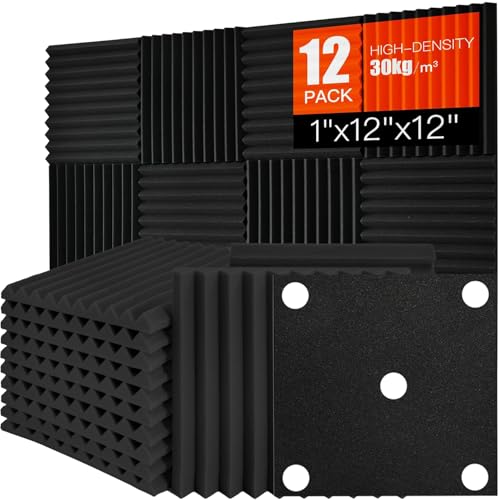
Saiqiang Acoustic Foam Panels Sound Absorbing 12 Pack - 1" X 12"X 12" Sound Proof Panels Noise Reducing for Walls, High Density Sound Deadening Panels Black Wedge for Studio Recording & Office & Home
High Density Acoustic Foam -Crafted from premium high-density polyurethane foam with a density of 30 kg/m³, these panels...
As an affiliate, we earn on qualifying purchases.
As an affiliate, we earn on qualifying purchases.
Where to Place Acoustic Treatment for Maximum Effect
Placement is everything. In a tiny closet, focus on the main reflection points: the wall behind the microphone, the side walls, the ceiling, and even the floor. For example, putting foam panels at ear level and behind the mic reduces harsh echoes and improves clarity. Proper placement ensures that sound waves are absorbed where they tend to reflect most, preventing echo buildup that can muddy recordings or cause listening fatigue. Learn more about acoustic treatment placement.
Use a mirror trick: position a mirror along the walls, and where you see the reflection of your microphone, that's where you should place treatment. Covering 20-30% of the wall surface with 2-4 inch panels usually provides noticeable improvement. This targeted approach prevents wasting materials on areas that don’t contribute significantly to sound quality, making your acoustic treatment more efficient and effective in small spaces.
How to Tackle Low-End Buildup in Small Closets
Low-frequency rumble can turn a tiny room into a bass trap. Because of the small dimensions, standing waves and low-end buildup are common, which can cause boomy, muddy sound that obscures details. The solution? Bass traps in the corners and treating the floor and ceiling. For example, a DIY bass trap stuffed with mineral wool in the corner can absorb unwanted low-end resonances and prevent bass buildup that skews your sound.
Adding thick curtains or rugs can also help diffuse standing waves, but they are less effective than dedicated bass traps. For serious control, consider tuned bass traps or Helmholtz resonators, which target specific low frequencies. However, for most home setups, simple corner traps provide substantial improvement without complexity. Addressing low-end issues proactively ensures a clearer, more balanced sound profile, especially in confined spaces where low frequencies tend to accumulate.
Sealing Gaps and Improving Sound Isolation in a Closet
Closets often leak sound through doors, gaps, and cracks. Sealing these is essential if you want to keep noise in or out. Use weatherstripping around the door, seal cracks with acoustic sealant, and add mass with extra drywall or soundproof panels. Proper sealing prevents sound leaks that undermine your acoustic treatment efforts, ensuring the space remains as quiet as possible from external noise sources and minimizes noise escaping into other areas.
For example, a DIY project might involve lining the door with a dense blanket, sealing gaps with foam strips, and adding a layer of mass-loaded vinyl. These small steps dramatically reduce sound leakage, making your space more effective for quiet work or recording. Keep in mind that sealing alone isn't enough; combining it with effective damping and proper placement yields the best results in small environments.
Ventilation Tips for a Hot, Sealed Closet Rig
Heat is the enemy of a closet-based rig. Without proper airflow, temperatures can spike, causing throttling and loud fans. The fix: active ventilation systems. A simple passive vent helps, but a ducted exhaust fan or thermostatic fan keeps things cool without noise. Proper ventilation not only protects your hardware from thermal stress but also prevents noise from high-speed fans caused by overheating.
For example, installing a small inline fan with ducting can vent hot air outside, maintaining safe temperatures and reducing fan noise. Additionally, integrating temperature sensors with automatic fan control ensures fans run only when needed, reducing unnecessary noise and energy use. These solutions help balance thermal management with acoustic control, safeguarding your equipment and workspace comfort.
Frequently Asked Questions
Can a closet really work as a recording or AI workstation?
Yes. With proper treatment, sealing, and ventilation, a closet can be transformed into a highly functional, quiet workspace. It’s about balancing sound absorption with heat dissipation to keep performance high and noise low.What is the difference between acoustic dampening and soundproofing?
Dampening reduces echoes and reflections inside a space, improving clarity. Soundproofing blocks sound from escaping or entering. For small closets, combining both makes the best environment for recording or quiet operation.Where should I place foam or panels for maximum effect?
Focus on reflection points—behind the microphone, side walls, ceiling, and even the floor. Using a mirror trick helps identify these spots. About 20-30% of wall coverage with 2-4 inch panels usually makes a big difference.Do I need to treat the door and gaps as well?
Absolutely. Doors and gaps are weak points in sound isolation. Use weatherstripping, acoustic sealant, and extra mass to prevent sound leaks, especially if you want a quiet, enclosed space.How much coverage is enough for a tiny closet?
Aim for 20-30% wall coverage with foam panels, bass traps in corners, and treatment at reflection points. More isn’t always better—targeted placement beats random coverage for real results.Conclusion
Your closet can become the perfect hideaway for a noisy, powerful rig — if you treat it smartly. Focus on proper placement, ventilation, and targeted dampening. With these steps, you get quiet, cool, and ready for work, no matter how tight the space feels.Is your closet ready to become your new command center? With a few tweaks, it can be a fortress of productivity, far from the noise and heat that once held you back.