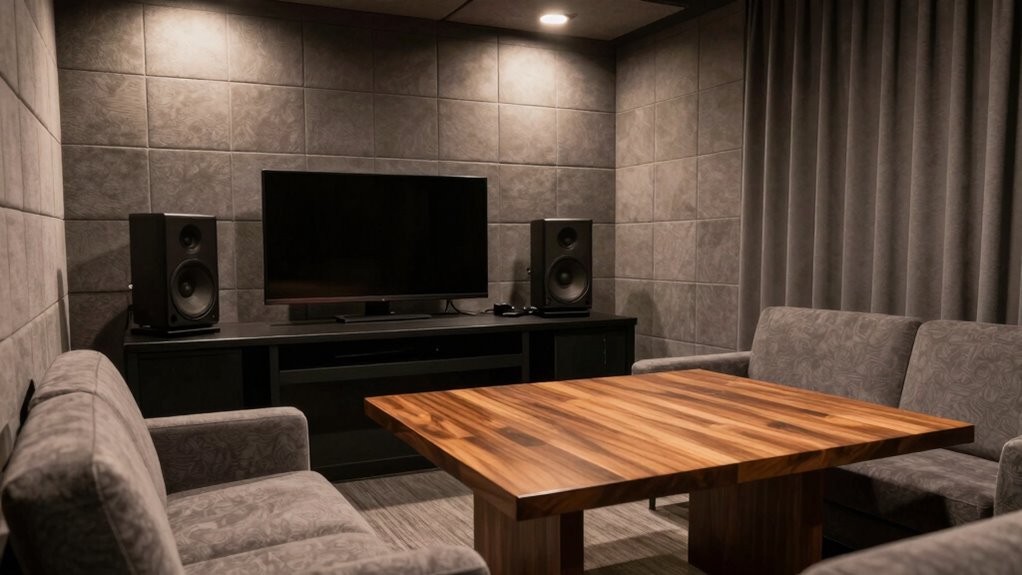

To set up a small demo room without echo and glare, focus on controlling sound and light. Use soft furnishings like rugs, curtains, and upholstered furniture to absorb sound, and install acoustic panels or foam to reduce echo. Manage natural light with adjustable shades and position your screens away from windows to prevent glare. Proper furniture placement and diffused lighting help create an even, comfortable environment. Keep exploring for more tips to perfect your demo space.
Key Takeaways
- Use sound-absorbing materials like acoustic panels, rugs, and fabric wall hangings to reduce echo and improve sound quality.
- Position screens and displays away from reflective surfaces, and use matte screens or filters to minimize glare.
- Incorporate soft furnishings and diffused lighting to create even illumination and prevent harsh shadows or hot spots.
- Manage natural light with adjustable blinds or curtains to control glare and maintain consistent lighting levels.
- Regularly inspect and update acoustic treatments and lighting setups to sustain an echo-free, glare-reduced environment.

Focusound 52 Pack Acoustic Foam Panels 1" x 12" x 12" Sound Proof Foam Panles Soundproofing Noise Cancelling Wedge Panels for Home Office Recoding Studio with 300PCS Double-Side Adhesive
Soundproofing – Acoustic foam panels triangular grooves structure for better noise absorption, helps to reduce and absorb unwanted…
As an affiliate, we earn on qualifying purchases.
As an affiliate, we earn on qualifying purchases.
Assess Your Room’s Acoustic and Lighting Needs
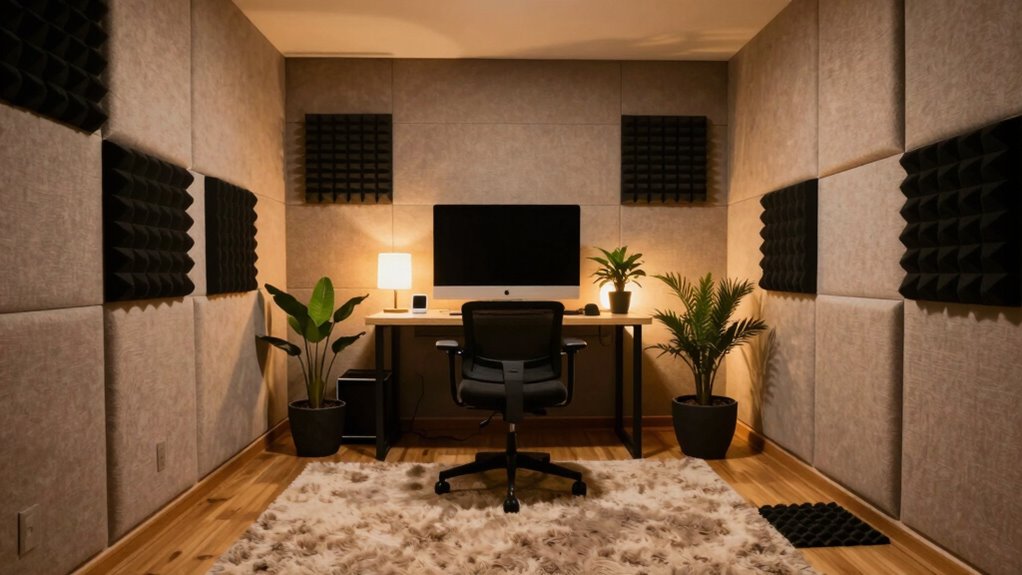
Before setting up your demo room, it’s vital to evaluate its acoustic and lighting conditions. Start by considering the room dimensions; a smaller space can amplify sound reflections, causing echo, while larger rooms may require soundproofing. Pay attention to furniture placement, as it influences both sound and light distribution. Arrange furniture to minimize reflective surfaces and avoid blocking windows or light sources. Positioning your equipment and seating thoughtfully helps reduce unwanted echoes and glare. Natural light can create uneven lighting, so identify areas where glare might occur. Use your room’s size and furniture placement to optimize acoustics and lighting, creating a balanced environment. Additionally, incorporating sound-absorbing materials can significantly improve audio clarity by reducing echo and reverberation. Conducting a thorough acoustic assessment ensures you’ll establish a comfortable, functional space for your demos, especially since sound vibrations are known to influence room acoustics and overall ambiance. Moreover, considering positive thoughts and intentions when configuring your space can foster a more inviting and productive atmosphere. Incorporating proper lighting control techniques can further enhance the visual comfort and prevent glare during demonstrations.

Window Blinds Cordless Blackout No Drill Cut to Size Clip On Stick On Self Adhesive Temporary Blinds Pleated Paper Blinds for Windows Doors Shades for Home Nursery Bedroom Kitchen Bathroom
【Easy to Install】Stick on blinds are installed in just three steps – cutting, tearing and pasting. Blinds come…
As an affiliate, we earn on qualifying purchases.
As an affiliate, we earn on qualifying purchases.
Choose Sound-Absorbing Materials for Your Demo Room
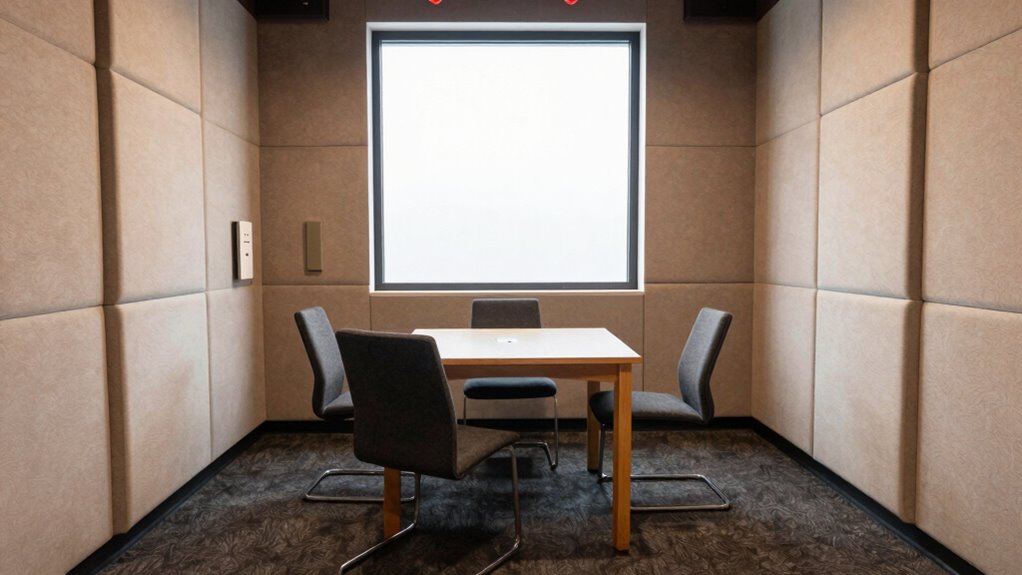
To improve your demo room’s acoustics, you need to choose effective sound-absorbing materials. Acoustic panels and soft textiles can considerably reduce echo and background noise. Selecting the right combination will create a clearer, more professional sound environment. Incorporating regional flavors and unique coffee and tea insights can also enhance your presentation, making it more engaging and memorable.
Selecting Effective Acoustic Panels
Have you considered how the right acoustic panels can dramatically improve your demo room’s sound quality? Choosing effective acoustic treatments is essential to minimize echo and unwanted noise. Look for panels made from sound-absorbing materials like foam, mineral wool, or fabric-wrapped fiberglass. These materials effectively break up sound waves, creating a clearer, more natural audio experience. Additionally, select panels that complement your room’s aesthetic, providing visual enhancements without sacrificing function. Position panels strategically on walls and ceilings where sound reflects most. Avoid cluttering the space; instead, opt for sleek, purpose-designed panels that blend seamlessly with your decor. Proper selection and placement of acoustic panels will deliver a professional sound environment, making your demo room more effective and visually appealing. Considering Waterparks and other family-friendly attractions can also influence your room’s design and ambiance, ensuring it caters to diverse preferences.
Incorporating Soft Textiles
Why should soft textiles be a key part of your demo room setup? They effectively reduce echo and improve sound quality through textile textures that absorb sound waves. Soft textiles also enhance acoustic insulation, preventing sound from leaking out or in. To maximize their impact, focus on:
- Using plush rugs or carpets to dampen footsteps and floor reflections.
- Adding fabric wall hangings or tapestries for diffuse sound absorption.
- Incorporating upholstered furniture and curtains to further soften the room’s acoustics.
- Selecting textiles with varying textures can further control sound reflections and glare, creating a more acoustically optimized environment.
- Choosing textiles made from sound-absorbing materials, similar to those highlighted in Gold IRA markets, can significantly boost your soundproofing efforts. Incorporating sound-absorbing textiles can enhance both the aesthetic and functional aspects of your demo space. Additionally, understanding the importance of acoustic treatment can help you make more informed choices for your setup.
These elements not only improve audio clarity but also create a comfortable, inviting environment. By carefully selecting textiles with varying textures, you control sound reflections and glare, making your demo room more professional and acoustically optimized.
![Peslv [2-Pack] 24 Inch Privacy Screen for Computer Monitor 16:9 Aspect Ratio, Eye Protection Anti Blue Light Glare Shield, 24inch Removable Black Blackout Anti Spy Desktop Security Private Filter](https://m.media-amazon.com/images/I/51LJJ4eL26L._SL500_.jpg)
Peslv [2-Pack] 24 Inch Privacy Screen for Computer Monitor 16:9 Aspect Ratio, Eye Protection Anti Blue Light Glare Shield, 24inch Removable Black Blackout Anti Spy Desktop Security Private Filter
【PRIVACY FILTER DIMENSIONS】- Width: 20 15/16" (532 mm), Height: 11 13/16" (299 mm), Diagonal: 24" (609.6 mm) -…
As an affiliate, we earn on qualifying purchases.
As an affiliate, we earn on qualifying purchases.
Select Lighting to Minimize Glare and Shadows

To reduce glare and shadows, use diffused light sources that spread illumination evenly. Position your lights strategically around the room to avoid harsh spots and reflections. Make sure to avoid direct spotlights, which can create unwanted shadows and distractions. Incorporating natural light can further enhance the cozy atmosphere and reduce reliance on artificial lighting. Additionally, selecting projectors with high contrast ratios can help improve image clarity in environments with varying light conditions. Properly controlling the lighting environment is essential to maintaining a clear and professional demo space. Paying attention to security and compliance measures can also ensure your demo room remains safe and meets necessary standards. Ensuring consistent lighting levels throughout the space helps prevent visual inconsistencies and improves overall image quality.
Use Diffused Light Sources
Using diffused light sources is essential for creating a well-lit demo room that minimizes glare and shadows. Diffused lighting spreads light evenly, reducing harsh spots and reflections that can distract or cause discomfort. To optimize your setup, consider these steps:
- Use softboxes or lamps with diffusers to spread light uniformly across the space.
- Incorporate acoustic treatment like foam panels to absorb sound, preventing reflections that can amplify glare.
- Choose adjustable lighting to fine-tune brightness and direction, ensuring consistent illumination without creating sharp shadows.
- Select appropriate lighting based on the room’s size and purpose to maintain optimal visibility. Proper lighting can also help prevent eye strain during long presentations. Additionally, selecting diffused lighting helps to evenly distribute light, enhancing overall visual clarity. Properly diffused light can also reduce the risk of hot spots, which are overly bright areas that can cause discomfort or distraction.
This approach enhances visual clarity while maintaining a comfortable environment. Diffused lighting, combined with careful acoustic treatment, creates a balanced, glare-free space ideal for presentations and demos.
Position Lights Strategically
Once you’ve set up diffused lighting to create a gentle, even illumination, the next step is to position your lights carefully to prevent glare and unwanted shadows. Consider your room dimensions and arrange lighting fixtures so that light spreads evenly across the space. Place fixtures at appropriate heights and angles to minimize direct glare into eyes or screens. Use multiple light sources to reduce harsh shadows, especially in corners and behind objects. Avoid placing lights directly in line with your viewing or recording areas, which can cause glare. Instead, opt for angles that bounce light softly off walls or ceilings. Proper positioning guarantees consistent, glare-free illumination, making your demo room comfortable, visually clear, and professional.
Avoid Direct Spotlights
Avoid placing direct spotlights in your demo room, as they can create harsh shadows and cause glare that distracts viewers. Instead, focus on strategic spotlight placement to diffuse light evenly. For example:
- Use wall-mounted or ceiling-mounted fixtures that direct light away from the display area.
- Select lighting with a neutral or warm color to prevent harsh contrasts and reduce eye strain.
- Opt for adjustable fixtures to control the angle and intensity, avoiding direct glare on screens or objects.
- Incorporate diffused lighting techniques to further minimize glare and shadows, creating a more comfortable viewing environment.

2-Pack LED Video Light Kit, NiceVeedi Studio Light, 2800-6500K Dimmable Photography Lighting Kit with Tripod Stand&Phone Holder, 73" Stream Light for Video Recording, Game Streaming, YouTube
【MULTIPLE COLOR TEMPERATURE & ADJUSTABLE BRIGHTNESS】There are 3 Color temperatures (2800K, 4800K & 6500K) which offer different lighting…
As an affiliate, we earn on qualifying purchases.
As an affiliate, we earn on qualifying purchases.
Arrange Furniture for Better Sound and Visual Comfort
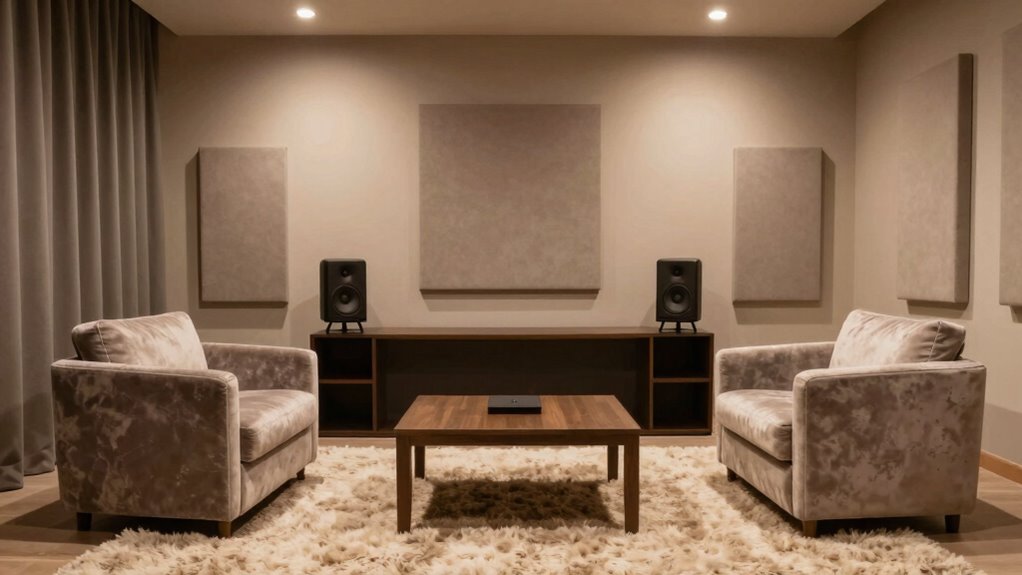
To optimize sound and visual comfort in your demo room, start by thoughtfully arranging your furniture. Focus on furniture placement to minimize echo and prevent glare, positioning speakers and seating to create a balanced acoustic environment. Keep reflective surfaces away from the main seating area to reduce glare and distractions. Use decor aesthetics to enhance comfort without cluttering the space, ensuring that furniture doesn’t block natural light or sound pathways. Place softer furnishings like rugs and cushions strategically to absorb sound, and avoid placing large, hard objects directly opposite speakers, which can cause sound reflections. Additionally, selecting the right vacuum cleaner can help keep your space free of dust and allergens, contributing to a healthier environment. Proper furniture arrangement also involves understanding acoustic treatment principles to improve sound quality and reduce unwanted echoes. You can further enhance the acoustic environment by incorporating soundproofing techniques to prevent sound leakage and external noise from interfering with your listening experience. By carefully planning your furniture layout, you’ll create a cozy, functional space that improves both audio clarity and visual ease.
Soundproof Walls and Doors to Block Noise
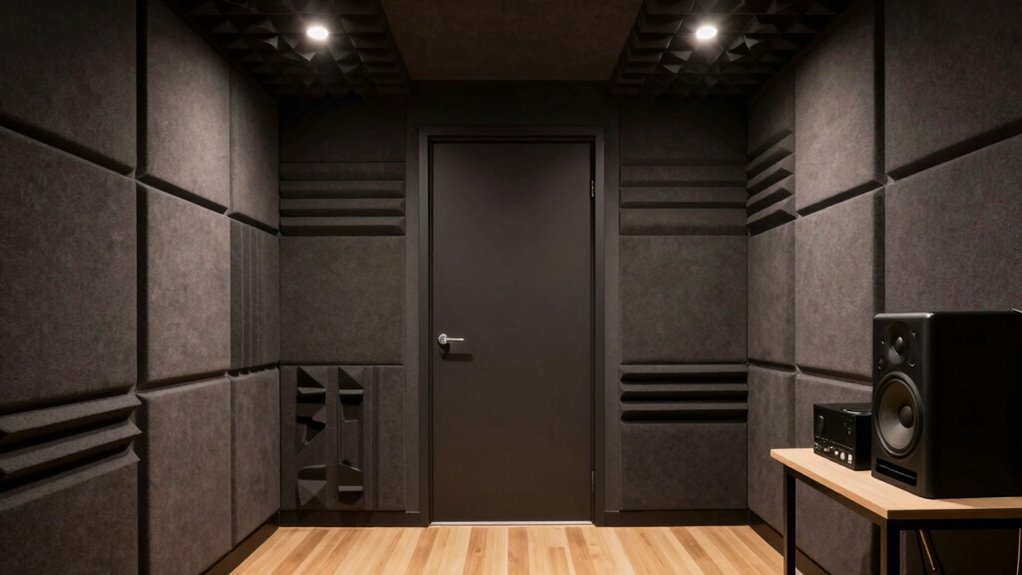
Soundproofing your walls and doors is essential to keep external noise from disrupting your demo sessions. To achieve this, consider the following options:
- Install soundproof curtains, which absorb sound and reduce echo within the room.
- Replace standard doors with insulated doors designed specifically for soundproofing, minimizing noise transfer.
- Add additional layers of drywall or acoustic panels to your walls for enhanced sound absorption and blocking.
These measures work together to create a quieter environment. Soundproof curtains help dampen sound leaks through windows or open spaces, while insulated doors prevent noise from entering or leaving the room. Reinforcing walls with acoustic materials further reduces echo and external disturbances, ensuring your demos remain focused and professional.
Manage Natural Light to Prevent Glare During Presentations
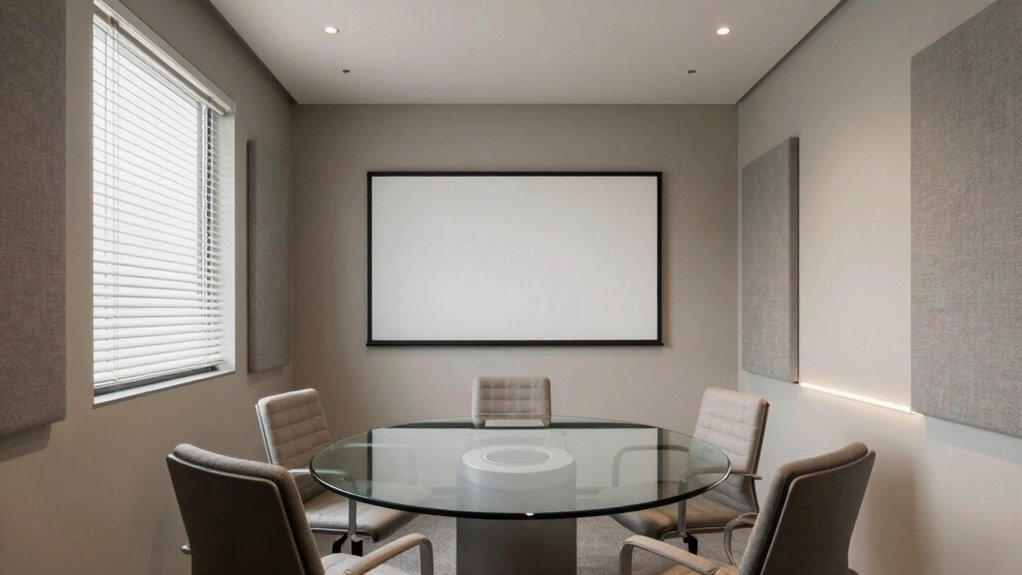
Managing natural light in your demo room is key to guaranteeing all presentations are clear and comfortable. Too much natural light can cause glare, making screens hard to see and distracting your audience. To prevent this, control window exposure with blinds, shades, or curtains that can be adjusted throughout the day. Position screens and presentation materials to avoid direct sunlight. Use the following table to understand common solutions:
| Issue | Solution |
|---|---|
| Excess sunlight during day | Install adjustable blinds |
| Glare on screens | Use matte screens or filters |
| Windows facing the sun | Add window films or shades |
| Reflection from shiny surfaces | Place matte materials nearby |
| Bright spots on presentation | Adjust window coverings |
These steps help guarantee glare prevention and maintain ideal lighting conditions.
Set Up Equipment for Clear Audio and Sharp Visuals
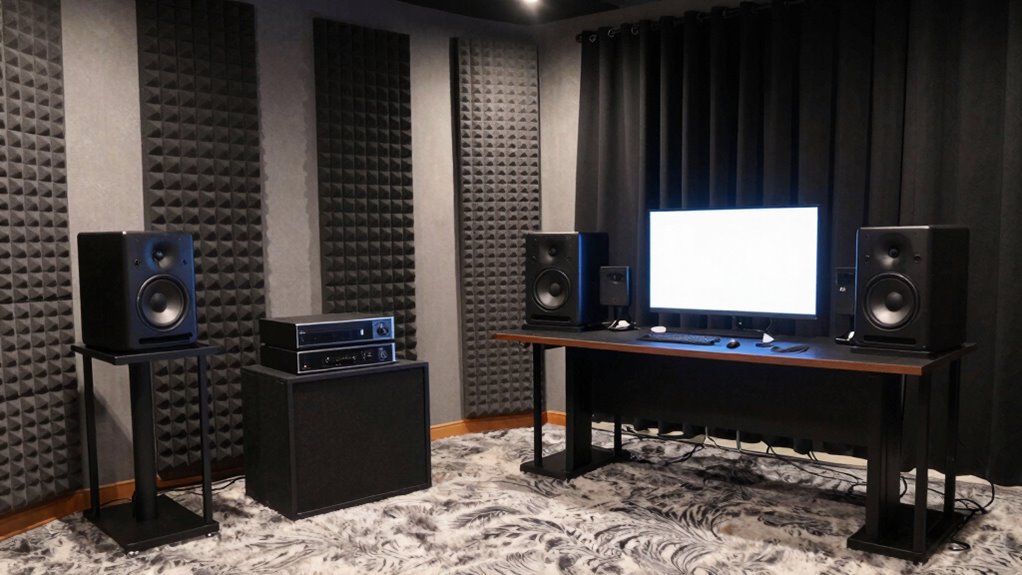
Ensuring your demo room has clear audio and sharp visuals is essential for effective presentations. To achieve this, focus on three key aspects:
- Choose a neutral color scheme to reduce glare and reflections, enhancing visual clarity.
- Arrange furniture strategically, placing screens at eye level and away from reflective surfaces for sharp visuals.
- Invest in quality audio equipment, like directional microphones and soundproofing, to ensure clear sound without echo.
Proper furniture placement minimizes distractions and prevents sound and light interference, while a well-chosen color scheme keeps visuals crisp. Combining these elements guarantees your audience experiences high-quality audio and visuals, making your demo more engaging and professional.
Keep Your Demo Room Professional and Echo-Free Over Time
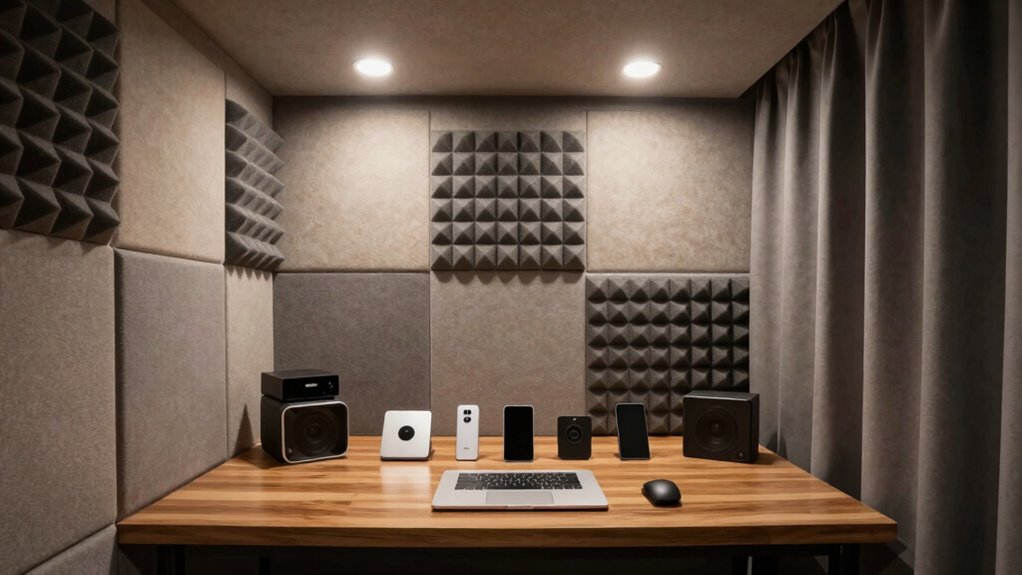
Maintaining a professional and echo-free demo room over time requires regular attention to its acoustics and upkeep. Keep the environment inviting and functional with decorative wall art that absorbs sound and reduces echo. Regularly update ambient lighting options to prevent dullness and guarantee a professional atmosphere. Consistent cleaning and equipment checks also help sustain quality. Use the following table to track your room’s maintenance tasks:
| Task | Frequency |
|---|---|
| Inspect acoustic treatments | Monthly |
| Adjust ambient lighting | Quarterly |
| Clean surfaces | Weekly |
| Update wall art | Annually |
| Check soundproofing | Bi-annually |
Staying consistent ensures your demo room remains polished, echo-free, and professional over time.
Fix Echo and Glare Problems in Your Demo Space
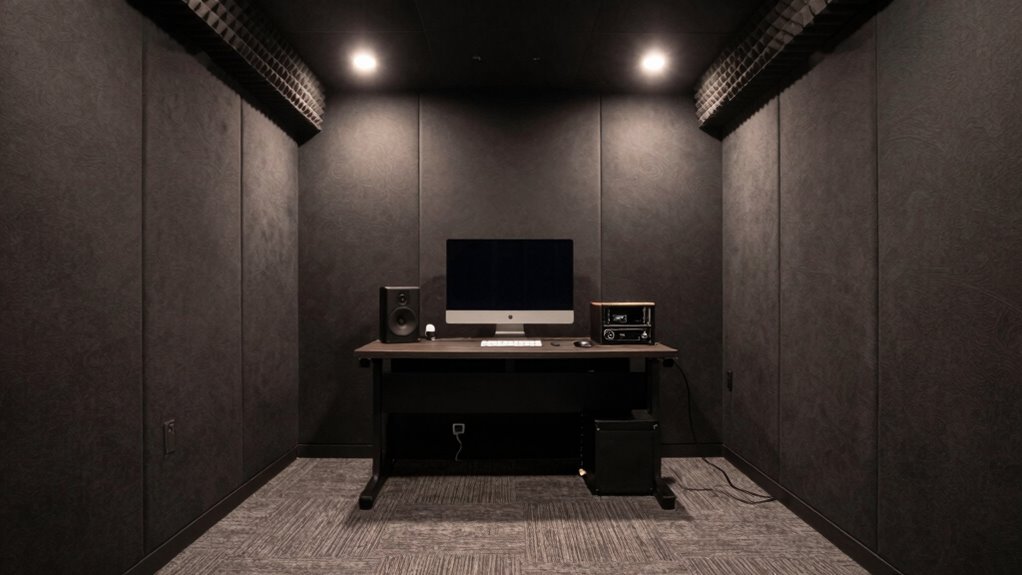
If echo and glare are disrupting your demo space, tackling these issues promptly can substantially improve sound clarity and visual comfort. To fix echo, focus on acoustic treatment by adding soft materials like acoustic panels, carpets, or curtains that absorb sound waves. For glare, lighting control is key—use adjustable fixtures or diffusers to soften harsh light and reduce reflections. Consider these steps:
- Install acoustic panels or foam to dampen sound reflections.
- Use blackout curtains or blinds to manage natural and artificial light.
- Incorporate dimmable lighting and diffusers for flexible lighting control.
Frequently Asked Questions
What Are the Best Budget-Friendly Materials for Sound Absorption?
You can use decorative panels and affordable acoustic panels to absorb sound on a budget. Decorative panels add style while dampening echoes, and acoustic panels are designed specifically for sound absorption. Place them strategically on walls or ceilings to minimize echo and glare. Look for foam or fabric-covered options, which are both cost-effective and effective at improving room acoustics without breaking the bank.
How Can I Prevent Reflections From Large Windows or Glass Surfaces?
To prevent reflections from large windows or glass surfaces, you can install decorative wall panels that absorb sound and reduce glare. Additionally, applying acoustic window films can dampen reflections and control light. Position furniture or curtains strategically to diffuse incoming light and minimize glare. Combining these solutions creates a more comfortable demo room, enhancing sound quality and visual clarity without sacrificing style or functionality.
What Equipment Is Essential for Optimal Audio and Visual Clarity?
Think of your demo room as a stage where clarity is king. You need Acoustic Panels to absorb sound, preventing echoes, and Lighting Controls to reduce glare from windows or fixtures. A good microphone and high-quality projector or screen are essential for visual clarity. Make sure your audio equipment has noise-canceling features, and your lighting setup allows you to adjust brightness for ideal viewing. This combo creates a seamless experience, much like a well-rehearsed performance.
How Often Should I Inspect and Maintain Acoustic Treatments?
You should inspect your acoustic panel placement and overall treatments monthly to guarantee they’re effective. Regular maintenance scheduling involves checking for dust buildup, damage, or displacement, which can compromise sound absorption. Clean panels gently and replace any that are damaged. Staying consistent with inspections helps maintain ideal acoustics, preventing echo and glare issues. By proactively managing your acoustic treatments, you’ll keep your demo room sounding clear and professional.
Are There Portable Solutions for Echo and Glare Issues?
A stitch in time saves nine, so addressing echo and glare with portable panels and mobile solutions is smart. You can easily move portable acoustic panels or deploy mobile solutions like adjustable blinds and lightweight curtains to control sound reflections and glare. These options are flexible, cost-effective, and perfect for small demo rooms, allowing you to quickly adapt your space for ideal acoustic and visual comfort without permanent modifications.
Conclusion
By thoughtfully tuning your demo room like a skilled conductor, you’ll create a space where sound flows smoothly and visuals shine without distraction. When you master the art of balancing acoustics and lighting, your presentations become a symphony of clarity and comfort. Keep tweaking and perfecting, and your demo room will transform into a sanctuary where ideas resonate and impressions stick like a melody that lingers long after the last note.