
To build a simple IoT project with your Raspberry Pi and sensors using Python, start by connecting your sensors via GPIO, I2C, or SPI, and guarantee you calibrate them properly for accurate data. Focus on establishing reliable connections and writing scripts to collect data regularly. Prioritize securing your network by changing default passwords and updating software. Following these steps will lay a strong foundation, and exploring further will help you gain more confidence in your IoT project.
Key Takeaways
- Connect sensors to Raspberry Pi using GPIO, I2C, or SPI interfaces and verify proper communication.
- Use Python libraries like RPi.GPIO or smbus to read sensor data reliably.
- Calibrate sensors by comparing outputs with known standards to ensure data accuracy.
- Write simple Python scripts to collect, process, and display sensor data in real-time.
- Implement basic security measures, such as changing default passwords and updating software, to protect your project.
Ever wondered how to get started with Internet of Things (IoT) projects without feeling overwhelmed? Diving into a simple IoT project with a Raspberry Pi and sensors can seem daunting at first, but breaking it down makes it manageable. The key is to focus on fundamental steps like sensor calibration and securing your network. Sensor calibration ensures your measurements are accurate, which is essential for reliable data collection. Without proper calibration, your sensor readings could be off, leading to incorrect insights or actions. Take the time to calibrate your sensors before integrating them into your project. This may involve comparing sensor outputs against known standards and adjusting their settings accordingly. Calibration is especially important if you plan to use sensors for critical tasks, like monitoring environmental conditions or automation processes.
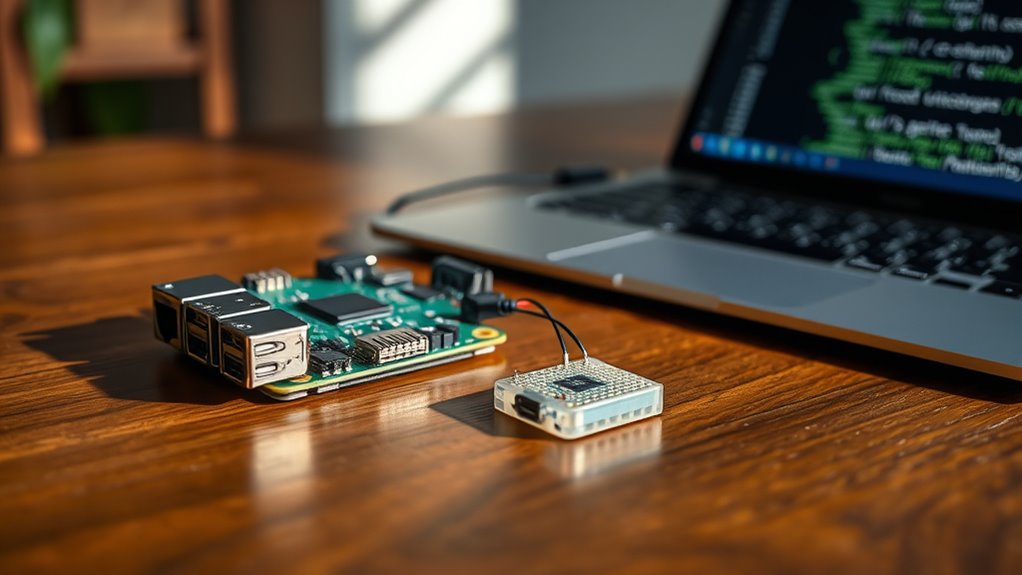
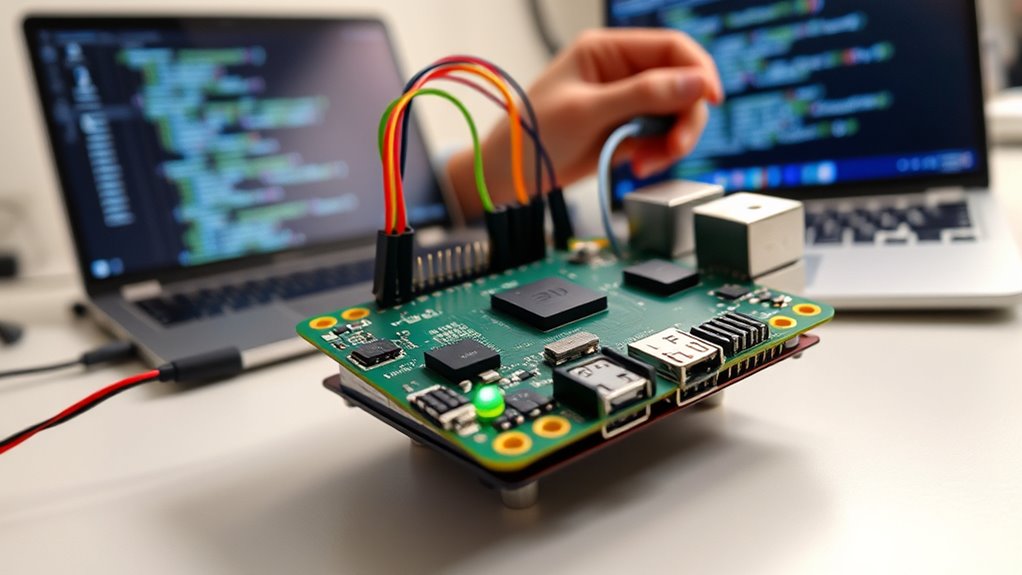
Once your sensors are calibrated, the next step is to connect them to your Raspberry Pi. Many sensors communicate via GPIO pins, I2C, or SPI interfaces. Python makes it straightforward to interface with these sensors using libraries and simple scripts. Write code that reads sensor data regularly and processes it as needed. As you develop your project, remember that network security is just as important as sensor accuracy. Making sure your Raspberry Pi is protected from unauthorized access involves changing default passwords, enabling firewalls, and keeping your software up to date. When you connect your device to the internet, you open potential vulnerabilities. Use secure protocols like SSH for remote access and consider setting up a VPN if you need remote control over your IoT device.
Another aspect to consider is data transmission. If your sensor data is sent over Wi-Fi or Ethernet, encrypt the communication to prevent eavesdropping. Protecting your network helps maintain the integrity of your data and prevents malicious attacks that could interfere with your project. Additionally, understanding the importance of contrast ratio can help you optimize your project’s visual interfaces or displays for better readability and clarity. As you progress, test your setup thoroughly—monitor sensor calibration accuracy over time, and periodically review your network security measures. Small adjustments can prevent big issues down the line. Remember that simplicity is your friend; focus on core functionalities first, then expand. With careful calibration and diligent security practices, you’ll build a solid foundation for your IoT project. In the end, this approach not only makes your project successful but also teaches essential skills for more complex IoT endeavors.
Frequently Asked Questions
What Are the Best Sensors for Beginner Iot Projects?
You should start with beginner-friendly sensors like temperature, humidity, and light sensors. These are easy to calibrate and provide clear data for visualization, making your projects engaging and understandable. They often come with simple tutorials, so you can quickly learn sensor calibration techniques. Plus, their data visualization is straightforward, helping you see results instantly and understand sensor behavior in your IoT projects.
How Can I Secure My Iot Raspberry Pi Device?
To secure your Raspberry Pi IoT device, start by setting up strong network security; change default passwords and enable firewalls. Use data encryption for sensitive information transmitted over your network, ensuring unauthorized users can’t access your data. Keep your system updated regularly with the latest security patches. Additionally, disable unused services and consider setting up VPN access for remote management, which adds extra layers of protection to your IoT device.
What Are Common Troubleshooting Steps for Sensor Issues?
When troubleshooting sensor issues, start by checking sensor calibration to make certain accurate readings. Verify connections and power supply, then look for signal interference from nearby electronics that could disrupt signals. Restart your Raspberry Pi and test the sensor with simple scripts to isolate problems. If readings are inconsistent, recalibrate the sensor or shield it from interference. These steps help pinpoint issues and restore proper sensor operation efficiently.
Can This Project Be Expanded to Multiple Sensors?
Did you know that multi-sensor IoT systems can increase data accuracy by up to 30%? Yes, this project can be expanded to include multiple sensors, allowing you to implement sensor integration and enhance data aggregation. You’ll need to connect each sensor to your Raspberry Pi, modify your Python code to handle multiple inputs, and then aggregate the data effectively. This way, your project becomes more robust and insightful.
What Are the Power Options for Continuous Operation?
You can power your Raspberry Pi sensor setup with battery options like rechargeable lithium-ion or AA batteries for portability and convenience. For long-term, continuous operation, consider solar power systems that harness sunlight to keep the sensor running without frequent replacements. Combining batteries with solar panels offers a sustainable, eco-friendly solution, ensuring your IoT project remains functional even in remote or off-grid locations.
Conclusion
Now you’ve built your first IoT sensor with Raspberry Pi and Python, you’re like a digital gardener tending to your connected world. Just as a tiny seed can grow into a mighty tree, your small project has the potential to expand into complex systems that monitor and improve daily life. Keep experimenting and learning—each line of code is a step closer to mastering the vast forest of IoT possibilities. Your journey has just begun.