To make your tutorial videos easier to watch, prioritize clear, high-quality audio by choosing the right microphone, like a condenser or shotgun mic, and positioning it close to your mouth. Recording in a quiet space with proper soundproofing and using accessories like pop filters helps reduce background noise. Editing your audio to balance levels and remove distractions also boosts clarity. Keep practicing these tips, and you’ll discover even more ways to elevate your sound quality and viewer engagement.
Key Takeaways
- Using a high-quality microphone ensures clear voice capture, reducing listener fatigue and improving comprehension.
- Proper microphone placement and environment setup minimize background noise and echoes for cleaner audio.
- Implementing audio editing techniques like equalization and noise reduction enhances clarity and consistency.
- Recording in a quiet, acoustically treated space prevents distractions and improves overall sound quality.
- Regular testing and adjustments prevent technical issues, ensuring professional-sounding tutorial videos.

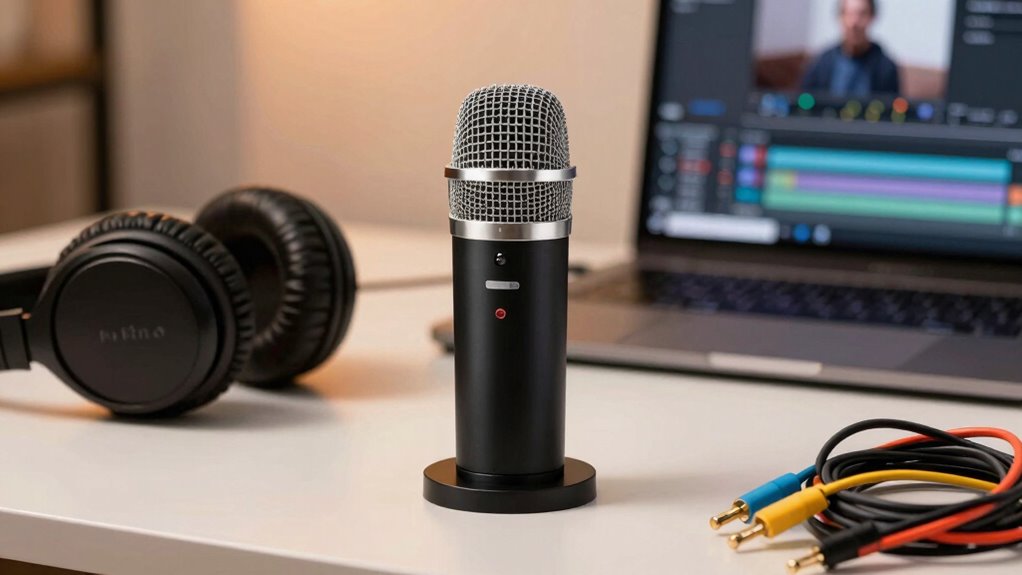
FIFINE USB Microphone, Metal Condenser Recording Microphone for MAC OS, Windows, Cardioid Laptop Mic for Recording Vocals, Voice Overs, Streaming, Meeting and YouTube Videos-K669B
[Convenient Setup] Plug and play recording USB microphone for PC, with 5.9-Foot USB cable included for computer PC…
As an affiliate, we earn on qualifying purchases.
As an affiliate, we earn on qualifying purchases.
Why Clear Audio Makes Your Tutorials More Engaging
Clear audio is essential because it directly impacts how well your audience understands and stays engaged with your tutorials. Good sound design ensures that your voice is crisp and free of background noise, making it easier for viewers to follow along. When audio quality is high, your listeners won’t strain to hear or interpret your instructions, which boosts listener engagement. Poor audio, on the other hand, can cause frustration and lead viewers to lose interest quickly. By prioritizing clear sound, you create a more professional and inviting learning environment. When your audience can easily grasp your explanations, they’re more likely to stay attentive and retain the information you share. Additionally, sound quality plays a crucial role in enhancing overall viewer satisfaction and perception of your content. Using reliable data storage/backup solutions can help prevent technical issues that might disrupt your recordings, ensuring your tutorials remain consistent and professional. Proper sound setup that minimizes background distractions also contributes to a smoother listening experience, making your tutorials even more effective. Implementing consistent audio levels can further improve clarity and prevent sudden volume changes that distract viewers. In short, clear audio transforms your tutorials into compelling, easy-to-follow content, especially when paired with proper sound setup that minimizes background distractions.

RØDE VideoMic GO II Helix | Ultra-Compact On-Camera Shotgun Microphone with Both 3.5mm and USB Outputs for Filmmaking, Content Creation, Podcasting and Video Calls (3rd Gen)
The VideoMic GO II is a compact, lightweight, easy-to-use shotgun microphone for capturing professional quality audio with ease
As an affiliate, we earn on qualifying purchases.
As an affiliate, we earn on qualifying purchases.
How to Choose the Best Microphone for Your Videos
Choosing the right microphone depends on understanding the different types and how they connect to your setup. You’ll need to take into account your budget and which features matter most, like portability or sound quality. Let’s explore these options to help you find the best fit for your videos. Additionally, considering studio soundproofing can significantly enhance audio clarity by reducing background noise and echo. For a more dynamic sound, some creators opt for microphones that can handle warp issues ensuring clear audio even in outdoor or rugged environments.
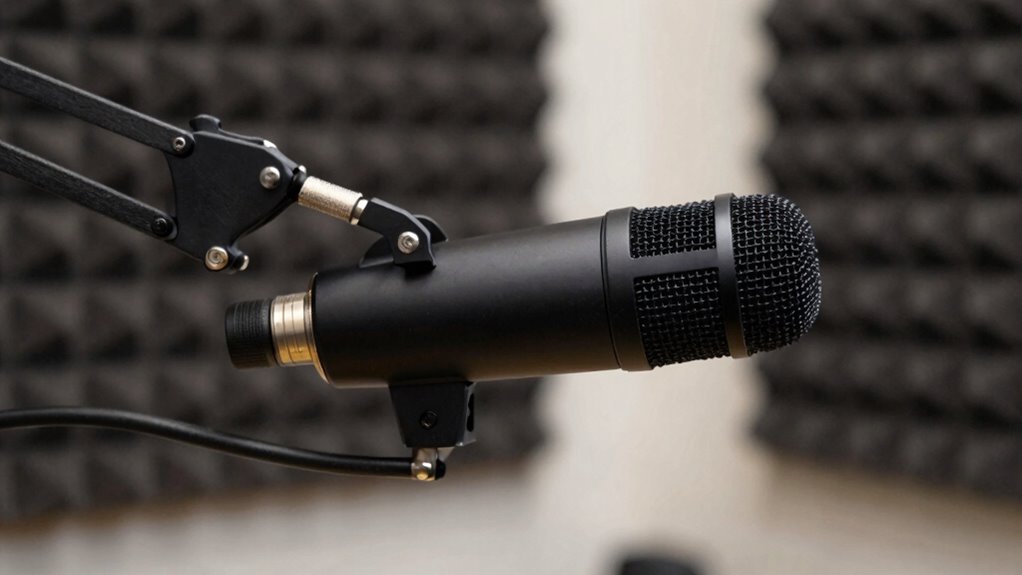
Types of Microphones
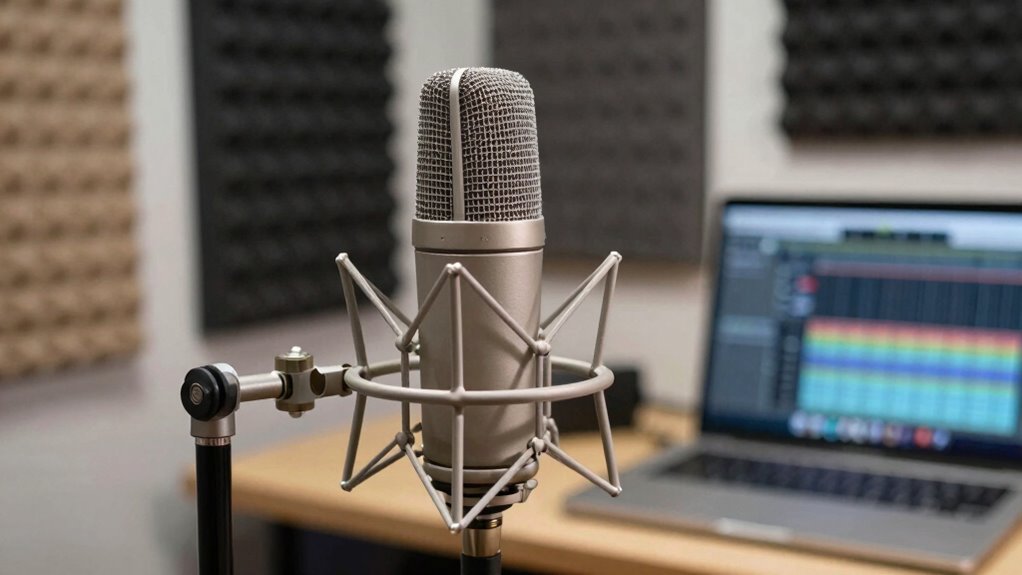
What type of microphone works best for your tutorial videos? Microphone types vary, impacting sound quality and ease of use. Dynamic microphones are rugged, good at rejecting background noise, and ideal for noisy environments. Condenser microphones capture detailed sound, making them perfect for clear, professional audio. Lavalier mics are small, clip-on, and discreet, offering hands-free convenience. Shotgun microphones are directional, focusing on your voice while minimizing side noises. When selecting a microphone, consider the Sound Healing Science aesthetic to find options that complement your setup’s style.
Connectivity Options
Selecting the right connectivity option for your microphone is essential to guarantee seamless integration with your recording setup. Wireless connectivity offers freedom of movement and reduces cable clutter, making it ideal for dynamic tutorial videos. Bluetooth compatibility allows quick pairing with your devices, simplifying setup. When choosing, consider your environment and mobility needs. Incorporating the proper safety precautions can also help prevent technical issues or accidents during setup. Additionally, understanding the hardware limitations of your equipment can ensure your setup remains reliable and efficient, especially in varied recording conditions. Being aware of product roundups can help you identify the best gear suited for your needs, ensuring you make an informed purchase. Embracing the vinyl revival mindset can inspire you to select audio gear that complements your nostalgic style and enhances your overall recording quality. Incorporating these aspects will help you create a smoother recording experience.
Budget Considerations
Your budget plays a crucial role in determining which microphone will work best for your tutorial videos. Luckily, there are plenty of budget friendly options that deliver quality sound without breaking the bank. Consider entry-level condenser mics that clip onto your desk or USB microphones that connect instantly to your computer. These are cost effective upgrades that greatly improve audio clarity compared to built-in options. Imagine a small, sleek microphone sitting on your desk, capturing every word crisply. Or picture plugging into a USB mic that’s simple to set up and start using. These options are ideal for beginners or those on a tight budget. By choosing the right microphone within your budget, you’ll substantially enhance your video’s professionalism and viewer engagement.

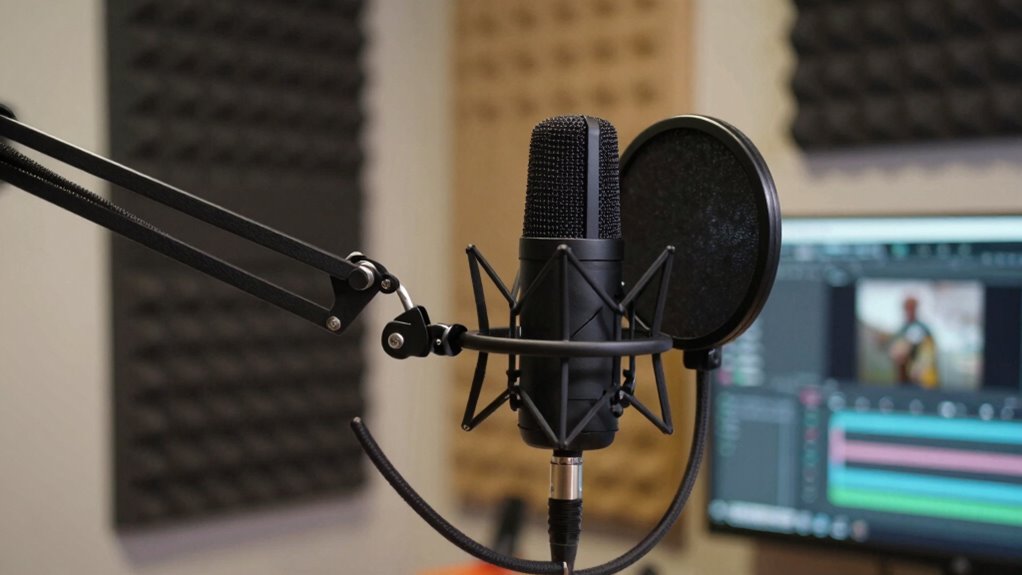
Aokeo Professional Microphone Pop Filter Mask Shield For Blue Yeti and Any Other Microphone,Mic Dual Layered Wind Pop Screen With Flexible 360° Gooseneck Clip Stabilizing Arm
Double Layered Screen Pop Filters:The first screen blocks air blasts as any pop filter normally would; The gap…
As an affiliate, we earn on qualifying purchases.
As an affiliate, we earn on qualifying purchases.
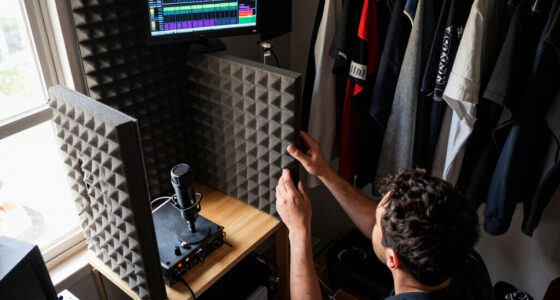
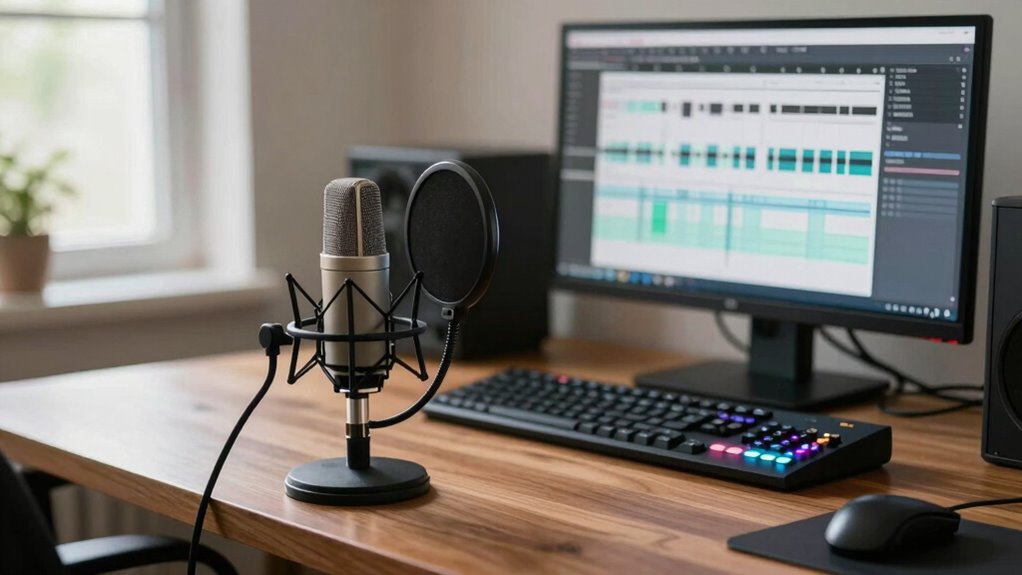
Tips for Recording High-Quality Audio at Home
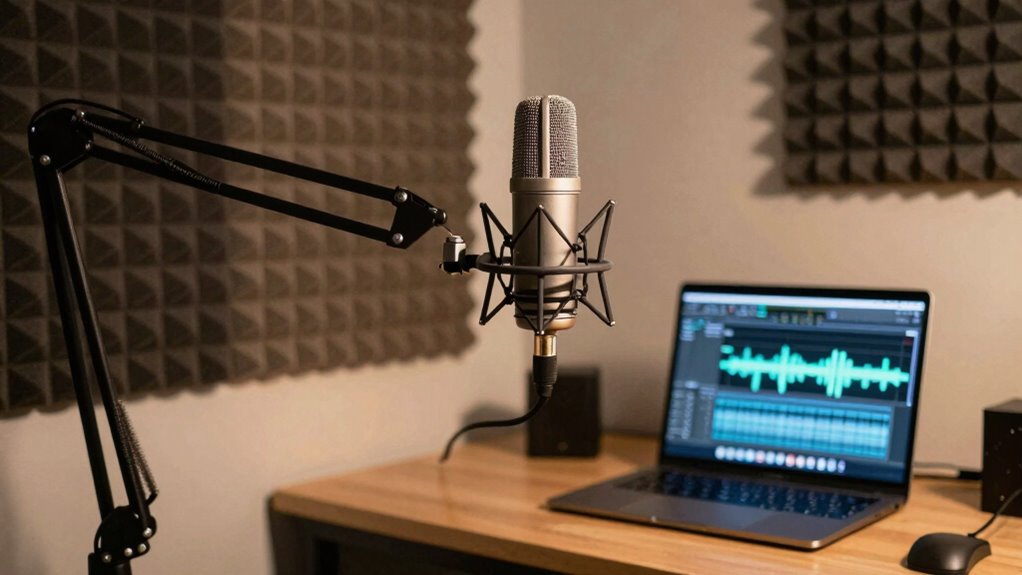
Recording high-quality audio at home is achievable with some straightforward techniques. First, invest in a good microphone to capture clear sound. Position it close to your mouth to minimize ambient noise and guarantee consistent audio levels. Use a pop filter to reduce plosive sounds that can distract viewers. To enhance your tutorial’s engagement, combine creative storytelling with visual storytelling—use clear, descriptive language and supportive visuals. Practice speaking with a steady, natural tone to maintain viewer interest. Recording in a quiet space, and considering acoustic treatment such as using soft materials or dedicated rooms, can significantly improve sound quality. Consider using a dedicated room or corner to improve acoustics. Free Floating spaces can help reduce echo and improve sound quality. Editing your audio afterward helps remove any remaining imperfections. With these tips, your tutorials will sound professional and keep viewers engaged from start to finish.

Focusound 52 Pack Acoustic Foam Panels 1" x 12" x 12" Sound Proof Foam Panles Soundproofing Noise Cancelling Wedge Panels for Home Office Recoding Studio with 300PCS Double-Side Adhesive
Soundproofing – Acoustic foam panels triangular grooves structure for better noise absorption, helps to reduce and absorb unwanted…
As an affiliate, we earn on qualifying purchases.
As an affiliate, we earn on qualifying purchases.
Simple Ways to Minimize Background Noise in Your Videos
Once you’ve set up your microphone for clear audio, the next step is to minimize background noise that can distract viewers. To do this, consider simple soundproofing techniques to block out ambient noise sources. First, seal gaps around doors and windows to prevent outside sounds from creeping in. Second, use heavy curtains or foam panels to absorb echoes and reduce room noise. Third, turn off appliances or fans that create constant ambient noise sources. Fourth, adding soundproofing materials can further improve your setup by reducing residual noise. Additionally, understanding privacy policies related to your recording environment can help you manage data and recordings responsibly. Choosing the right battery inverter generator can also ensure consistent power supply for equipment like microphones and lighting, minimizing technical disruptions during recordings. Finally, place your microphone away from noisy areas and position it close to your mouth to pick up less background sound. These small adjustments make a big difference, ensuring your audio stays clean and focused, so viewers stay engaged without unnecessary distractions. Incorporating regional flavor into your sound setup can also help create a more immersive and authentic viewing experience. Additionally, understanding Italian gelato culture can inspire authentic content that resonates with viewers and enhances the overall atmosphere of your tutorials.
Editing Tricks to Improve Audio Clarity and Balance
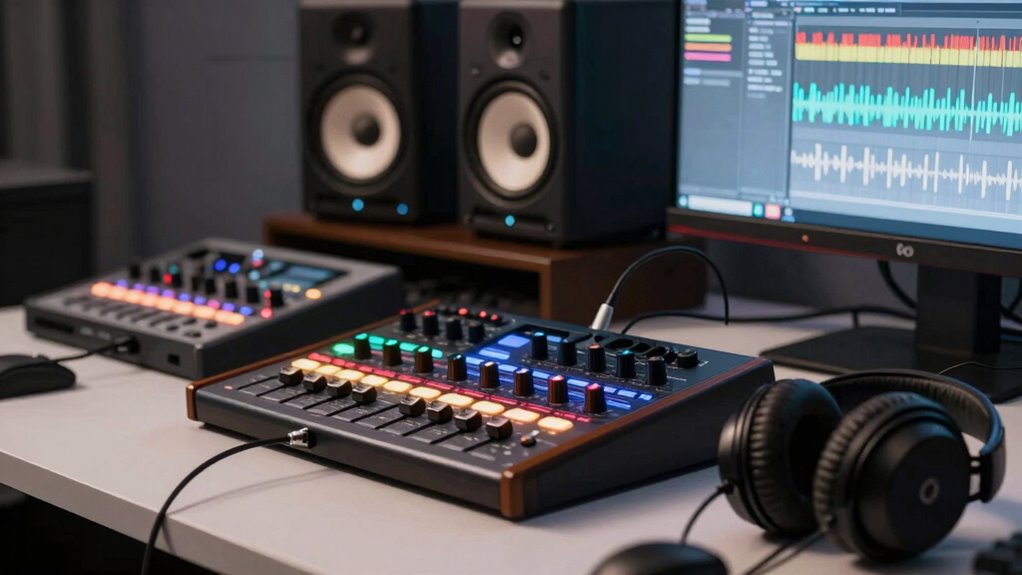
You can make your tutorial audio clearer by balancing volume levels across your clips and using equalization to enhance spoken words. Reducing background noise further improves clarity, ensuring your audience focuses on your message. Adjusting the frequency balance helps create a natural sound that’s easy to listen to throughout your video. Incorporating audio equipment considerations can also significantly enhance sound quality and overall clarity. For example, choosing the right microphones and audio interfaces, similar to the conversion kits used in e-bike systems, can make a noticeable difference in capturing high-quality sound. Embracing clarity and resilience in your audio setup aligns with the principles of Stoic wisdom, helping you focus on what truly matters in your content.
Equalize Volume Levels
Equalizing volume levels is essential for ensuring your tutorial videos sound clear and professional. Proper volume leveling creates sound consistency, making it easier for viewers to focus without distractions. To achieve this, use your editing software’s tools to smooth out volume fluctuations. Imagine:
- A steady voice guiding viewers without sudden jumps
- Background music that complements rather than overwhelms
- Clear, balanced sound effects that don’t drown out speech
- Consistent audio levels across multiple clips
Reduce Background Noise
Have you ever noticed background noise distracting from the main audio in your videos? To create silent backgrounds, noise cancellation tools are essential. Use editing software with noise reduction features to identify and eliminate unwanted sounds like hums, clicks, or static. These tools analyze the audio and suppress consistent background noises without affecting your voice clarity. Be cautious not to overdo it, as excessive noise cancellation can make your voice sound unnatural or hollow. Fine-tune the settings to preserve natural tone while removing distractions. By reducing background noise, you make your tutorial videos clearer and more professional, ensuring viewers stay focused on your content without interruptions. Clean audio enhances engagement and makes your tutorials easier to watch.
Adjust Frequency Balance
After reducing background noise, the next step is to adjust the frequency balance to improve your audio’s clarity and overall sound quality. By manipulating the frequency spectrum, you can emphasize or reduce specific sounds, ensuring your voice remains clear and natural. Focus on balancing the tonal spectrum so that your voice isn’t muffled or overly sharp. Visualize the process as fine-tuning a dial that shapes the sound’s richness. Think of it as:
- Boosting midrange frequencies to clarify speech
- Cutting harsh high frequencies to reduce sibilance
- Attenuating low frequencies to eliminate rumble
- Enhancing high frequencies for crispness
This adjustment helps your tutorial sound more professional, engaging, and easier to understand. Proper tonal balance makes your voice stand out against background elements.
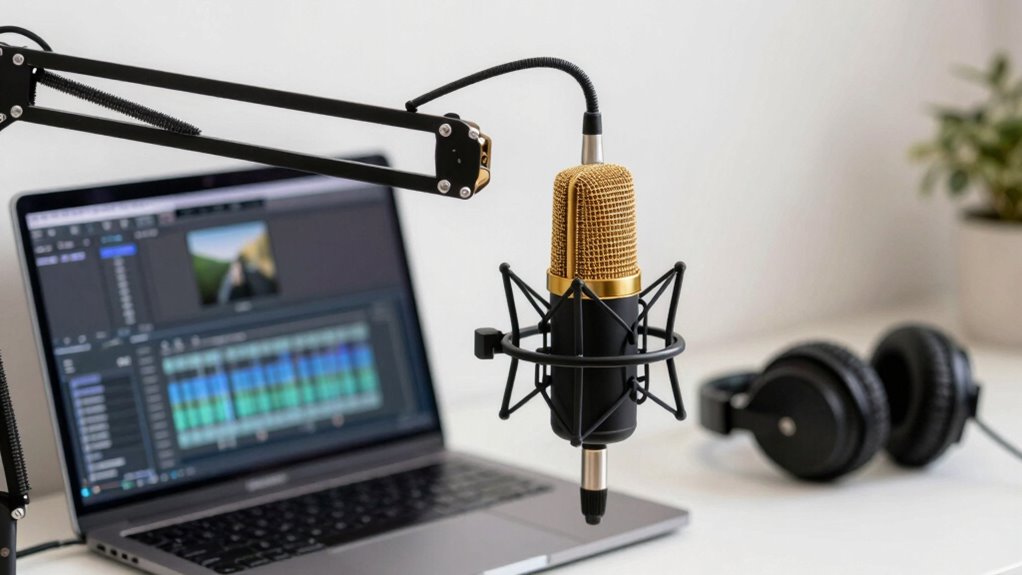
Essential Audio Accessories to Boost Your Sound
To improve the clarity and professionalism of your tutorial videos, investing in essential audio accessories is a smart move. Soundproofing techniques, like foam panels or seals, help minimize background noise, ensuring your voice stays clear. Proper microphone placement is vital; position your mic close to your mouth without obstructing it, to capture your voice accurately and reduce ambient sounds. A quality pop filter can also improve sound quality by reducing plosive sounds. Consider a boom arm or adjustable stand for consistent microphone positioning, which makes your audio more stable. These accessories work together to create a cleaner, more professional sound environment. With the right setup, your viewers will enjoy a smoother, more engaging tutorial experience.
Common Microphone and Recording Mistakes to Avoid
Even with the right accessories, common mistakes can undermine your audio quality. Poor microphone placement can cause muffled or uneven sound, making your voice hard to understand. Ignoring your recording environment can introduce background noise or echo that distracts viewers. Other mistakes include speaking too close or too far from the mic, resulting in distorted or weak audio. Failing to test your setup beforehand can lead to unexpected issues during recording.
To avoid these pitfalls, keep these in mind:
- Place the microphone at an ideal distance, about 6-12 inches from your mouth
- Choose a quiet, sound-treated environment to minimize echo and background noise
- Maintain consistent microphone placement throughout recording
- Test your audio levels before starting to catch problems early
Troubleshooting Audio Issues in Your Tutorials
When you encounter audio issues in your tutorials, quick troubleshooting can save you time and improve your recordings. First, check your audio equipment—ensure your microphone is properly connected and functioning. Test different devices if necessary. If background noise persists, apply soundproofing techniques like sealing gaps around doors or using foam panels to reduce echo. Adjust your audio levels in your recording software to prevent distortion or low volume. Sometimes, issues stem from software settings or outdated drivers, so keep everything updated. If problems continue, try recording in a quieter environment to isolate external sounds. Regularly reviewing your recordings helps catch issues early. With proper soundproofing and reliable audio equipment, you’ll minimize disruptions and produce clearer, more professional tutorials.
Frequently Asked Questions
How Does Microphone Placement Affect Audio Quality?
Microphone placement greatly impacts your audio quality by minimizing background noise and capturing clear sound. When you position the microphone close to your mouth, it reduces background noise, making your voice stand out. Proper microphone positioning guarantees consistent audio levels and clarity, preventing muffled or distant sounds. Keep the microphone at an ideal distance—about 6 to 12 inches—and slightly off to the side for the best results in tutorial videos.
What Are the Best Editing Software Options for Audio Enhancement?
You should try editing software like Adobe Audition, Audacity, or GarageBand for audio enhancement. These tools excel at audio compression, balancing levels for clearer sound, and noise reduction, removing background noise effectively. They allow you to fine-tune your audio, making tutorial videos more professional and easier to watch. With features like real-time editing and easy-to-use interfaces, you’ll improve your audio quality quickly and easily.
Can Smartphone Microphones Produce Professional-Quality Sound?
Smartphone microphones can produce professional-quality sound, but it depends on your setup. They’re like a paintbrush—capable of amazing results with the right tools. With wireless connectivity, you can record more freely, and noise cancellation helps eliminate background noise, making your audio clearer. However, for the best results, consider external microphones designed for smartphones. They offer superior audio quality, especially in noisy environments, helping your tutorials sound crisp and professional.
How Often Should I Replace or Upgrade My Audio Equipment?
You should replace or upgrade your audio equipment when it no longer fulfills your soundproofing techniques needs or if your microphone types, like dynamic or condenser mics, start to show wear or produce poor sound quality. Regularly assess your setup, especially after frequent use or technological advances. Upgrading guarantees clearer sound, making your videos more professional. Keep an eye on new microphone types and soundproofing innovations to stay ahead in quality.
What Are Cost-Effective Ways to Improve Audio for Beginners?
To improve your audio cost-effectively, start by reducing background noise using affordable soundproofing like foam panels or blankets. Next, perform simple audio calibration on your recording device to optimize sound levels. Using a decent microphone and ensuring it’s positioned correctly also helps. These steps substantially enhance audio clarity without breaking the bank, making your tutorial videos easier to watch and more professional.
Conclusion
Imagine your viewers leaning in, captivated by crystal-clear sound that makes every instruction feel personal. When you upgrade your audio, you transform your tutorials into a seamless, engaging experience—like chatting with a friend across the room rather than shouting from a distance. With the right gear and tips, you’ll create videos that not only teach but also resonate. So, power up your mic and let your voice shine through, making every tutorial a joy to watch.